
Designer Tool
Mastering Our Custom Design Studio
Follow this quick guide to personalize your signs—including aluminum, banners, and acrylic layouts—with real-time live previews before placing your order.
Follow Along Live!
Try the steps on our Custom Printed Horizontal Vehicle Magnet or any custom product.
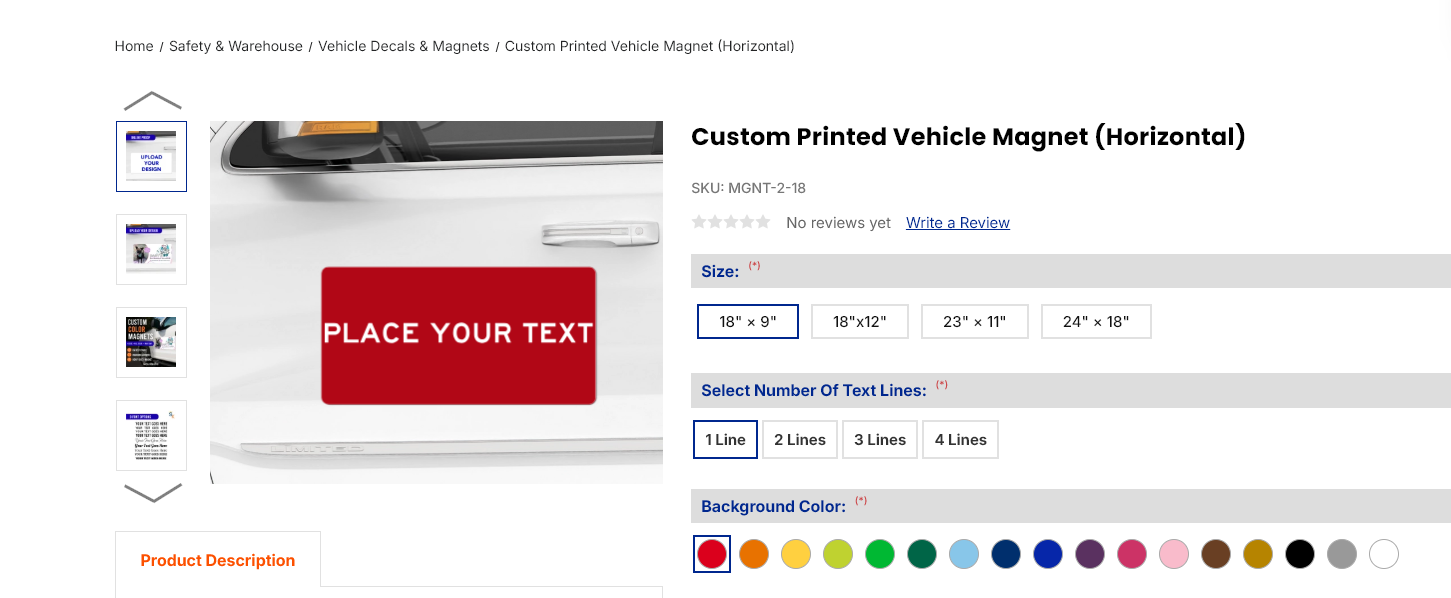
Select Your Size & Material Options
Start by choosing your desired sign size and material type—whether you are configuring durable aluminum, flexible vinyl, or clear/frosted acrylic signs—directly on the product page. This sets up your design workspace to exact scale.
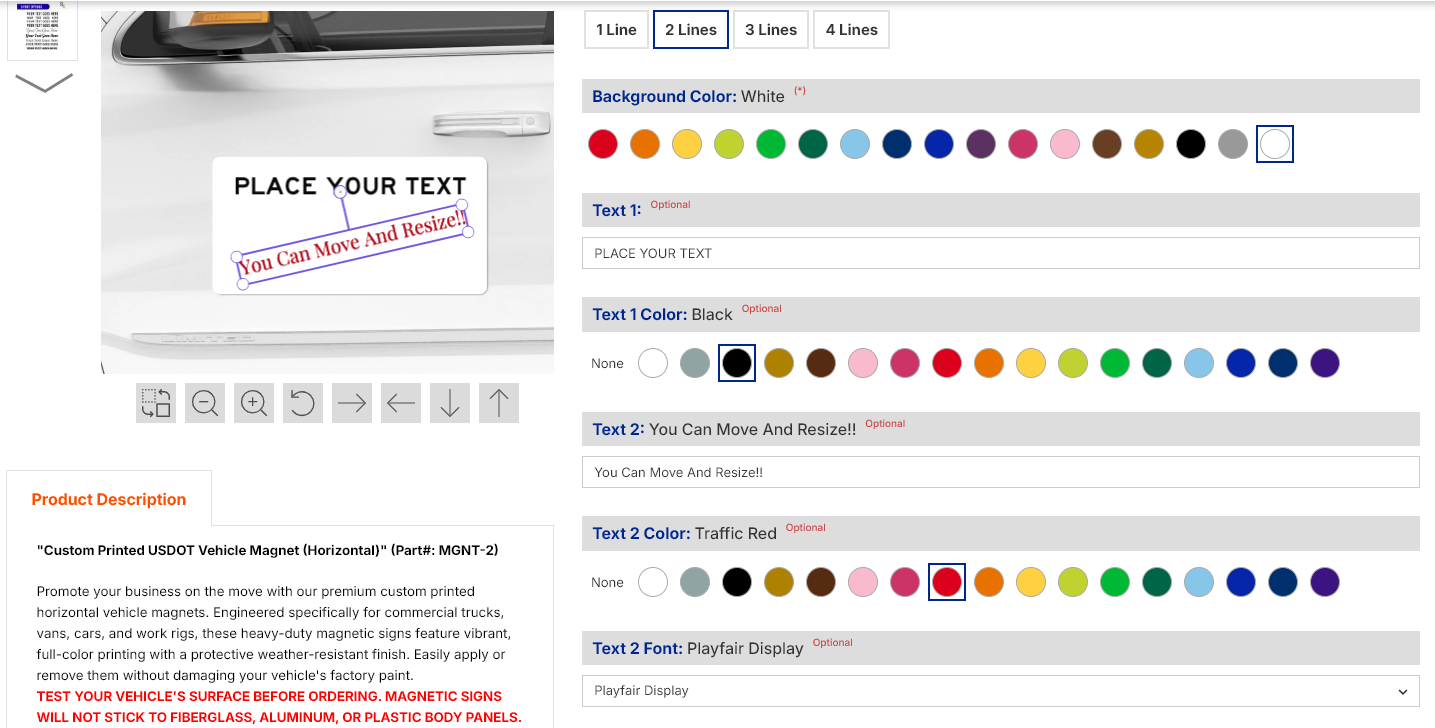
Customize Text, Fonts & Colors
Enter your custom text lines in the editor fields. You can select your preferred font styles, pick text colors, and adjust background colors (if available for your product) to match your brand style.
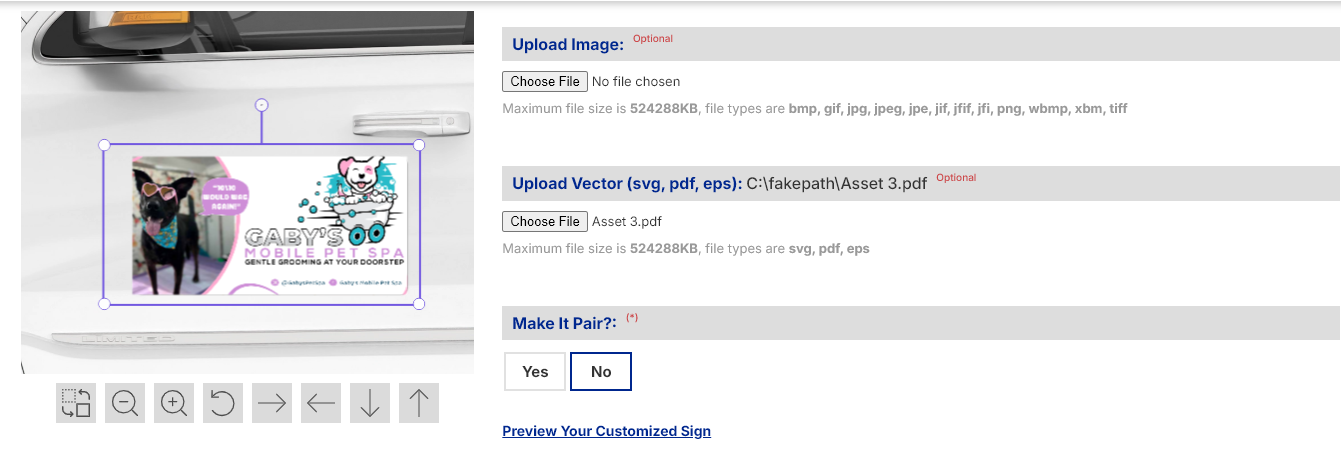
Upload Images, Logos or Artwork
Add standard image files or sharp vector graphics directly to your layout. Position, scale, and adjust them right inside the preview window.
Supported File Types:
- Standard Images: PNG, JPG
- Vector Files: EPS, SVG, PDF
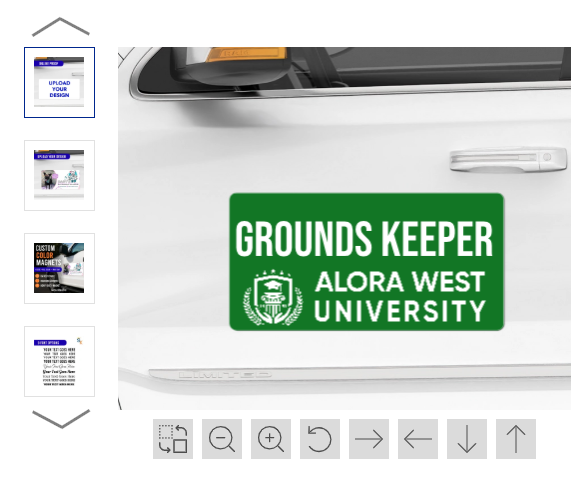
Review Your Design in Real-Time
As you type text, switch fonts, or adjust graphics, the interactive designer updates instantly on screen. You see exactly what your finished product will look like before adding it to your cart.
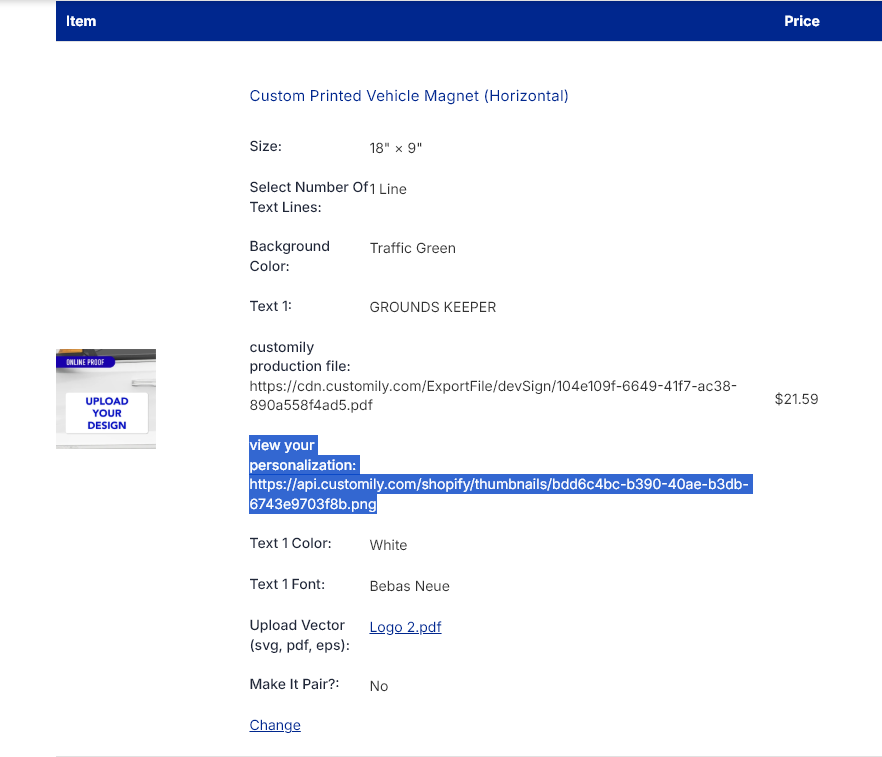
Add to Cart & Confirm Your Production File
When you are completely satisfied with your design, click Add to Cart. During checkout, you will see a final production proof generated directly from your design file to ensure accuracy when we hit print!